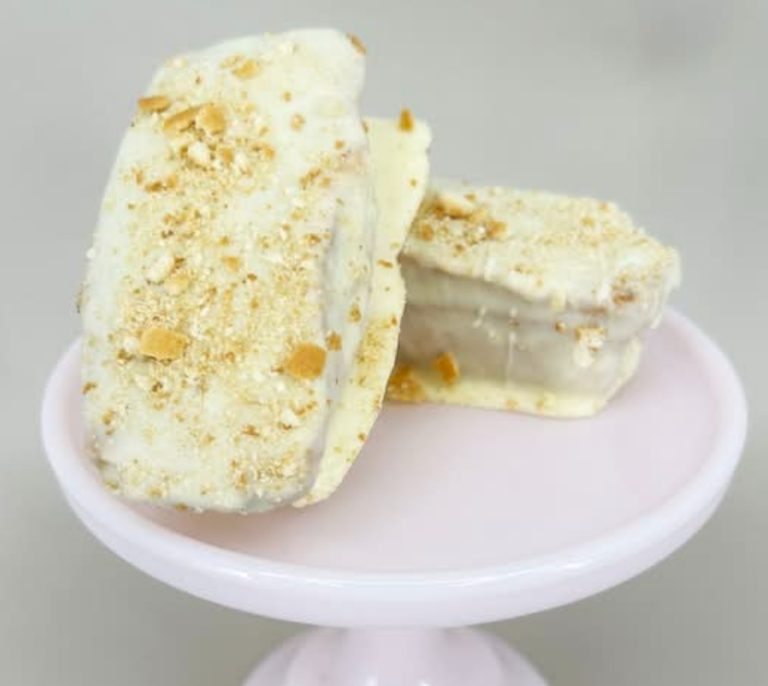
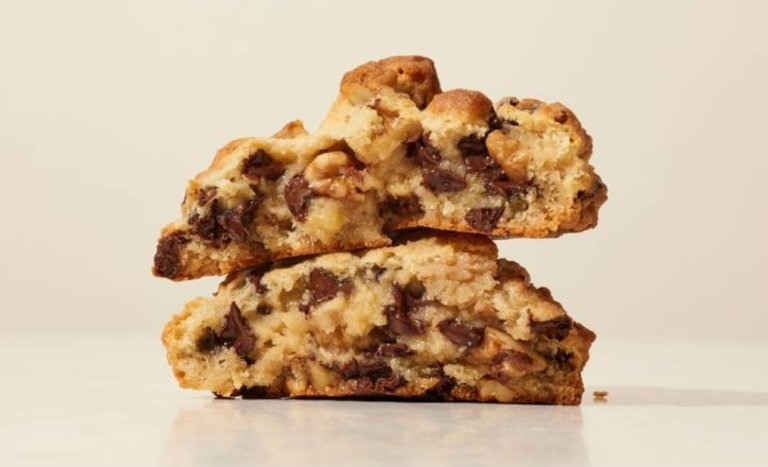
The Best Fluffy Pancakes recipe you will fall in love with. Full of tips and tricks to help you make the best pancakes.

The Art of Making Perfect Chocolate Croissant : A Step-by-Step Guide
There are few pastries as universally beloved as the chocolate croissant, or as the French call it, pain au chocolat. That perfect combination of buttery, flaky layers wrapped around rich dark chocolate is the hallmark of a true French bakery. While making authentic chocolate croissants at home might seem daunting, with patience and the right technique, you can create these luxurious pastries that rival any Parisian boulangerie.
Understanding Laminated Dough: The Heart of French Pastry
The secret to perfect chocolate croissants lies in the technique of lamination. This process involves folding butter into the dough multiple times to create hundreds of thin layers. When baked, the water in the butter creates steam, pushing the layers apart and creating that signature flaky texture that makes French pastries so irresistible.
Essential Ingredients for Authentic Pain au Chocolat
Quality ingredients are non-negotiable when it comes to making exceptional homemade croissants. Here’s what you’ll need for authentic results:
- Bread Flour: The high protein content creates the strong gluten network needed to support all those buttery layers
- European Butter: With its higher fat content (82-85%), it creates superior flakiness and flavor compared to regular butter
- Quality Chocolate: Use proper chocolate batons or a high-quality dark chocolate bar (at least 60% cacao)
- Cold Milk: Helps keep the dough temperature low during mixing
🔘 You Will Also Love White Chocolate Cinnabon Pancakes – A Sweet Breakfast Dream
The Process: Creating Flaky Layers Step by Step
Making the Dough (Détrempe)
Begin by mixing your dough ingredients until smooth and elastic. This initial dough, called the détrempe, should be slightly sticky but manageable. The key here is to develop enough gluten to support the layers while keeping the dough cool. After mixing, chill the dough thoroughly – this first rest period is crucial for relaxing the gluten and making the dough easier to roll out.
🔘 Also Check Our Air Fryer Pancake Cake Recipe | Easy & Fluffy Dessert
Preparing the Butter Block (Beurrage)
While your dough chills, prepare your butter block. European-style butter is essential because its higher fat content and lower water content create better steam and more distinct layers. The butter should be cold but pliable – you want it to be the same consistency as your dough when you begin the lamination process.
The Lock-In and Folds
This is where the magic happens. Encase the butter block completely in your dough, creating what’s called the “lock-in.” Then begins the process of rolling and folding – typically three single folds with chilling periods between each. Each fold multiplies the layers exponentially. After three folds, you’ll have 81 layers of dough and butter! The chilling periods between folds are non-negotiable; they keep the butter firm and prevent it from melting into the dough.
Shaping and Final Proof
After the final chill, roll out your dough and cut it into rectangles. Place two chocolate batons at the end of each rectangle and roll tightly. The final proof is perhaps the most critical step for achieving light, airy chocolate croissants. They need to proof in a slightly warm environment until they’re jiggly and visibly puffed – this can take 1.5 to 2 hours. Under-proofing will result in dense pastries; over-proofing will cause the butter to leak out.
Baking and Serving Your Masterpiece
Bake your pain au chocolat until they’re a deep golden brown. The smell of butter and chocolate filling your kitchen is the true sign of success. Let them cool slightly on a wire rack – the chocolate will be molten hot initially. While homemade croissants are best eaten the day they’re made, you can refresh them briefly in a warm oven if needed.
Expert Tips for Perfect Croissants Every Time
- Temperature control is everything: Work in a cool kitchen and don’t let the butter get too soft
- Use a ruler: Precise measurements ensure even layers
- Be patient with the proofing: Rushing this step is the most common mistake
- Freeze for later: Shape croissants and freeze before proofing for fresh-baked pastries anytime
Making chocolate croissants from scratch is a labor of love that rewards patience and attention to detail. While the process takes time, the result – biting into a warm, flaky pastry with melted chocolate center that you created yourself – is one of the most satisfying experiences in home baking. Embrace the process, learn from each batch, and soon you’ll be creating French pastries that will transport you straight to a café in Paris.


Croissant Is my Favorite With Coffie.